

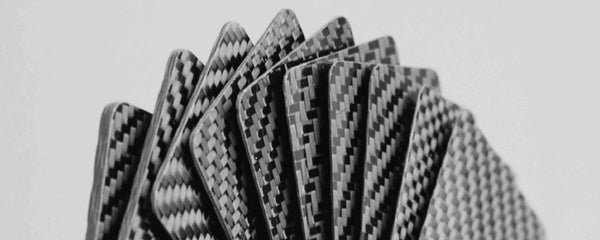
Mercedes-Benz 190E carbon fiber interior - Installation
Upon receiving your W201 carbon fiber interior trim, carefully unbox and inspect to ensure all pieces you have ordered are there. The trims are shipped with a protective vinyl film. Gently peel off this film while keeping the pieces on a flat surface.
Installation:
Note:
The carbon fiber trim pieces are placed over the existing interior pieces. There is no need to remove any original wood paneling.
- Clean the areas of your interior where the new trims will be installed. Use a microfiber cloth with window cleaner such as Windex.
- Mock fit the new carbon fiber pieces to ensure proper fitment to your specification interior. If there are any discrepancies please contact us and we will work with you to solve the problem.
- When ready to install, peel off all the adhesive backing liner from the trim piece. Some trims may have multiple pieces of liner, be sure to remove every piece.
- Carefully align the carbon fiber trim to its place (the adhesive is very sticky, do not touch with it your fingers, and focus on getting it aligned the first time). If there is a button cutout, align the hole so it is evenly spaced around the button.
- Once on, use a microfiber cloth and gently apply pressure over the surface of the carbon fiber trim to ensure a good bond.
- For the vent bezels, use the supplied "dummy" trims to cover any dummy buttons, or empty spaces.
Center pocket installation:
- The carpeting of the center pocket must be removed in order to install the new carbon fiber trim. Remove the entire piece (use the 3D printed removal tool provided)
- Gently peel off the existing carpeting. Apply light heat if necessary
- Re-install the plastic frame into the console.
- Remove the adhesive liner from the carbon fiber trim.
- Place the carbon fiber trim onto the plastic frame-- aligning it closer to the front of the car, creating a small gap at the rear, to assist in future removal.
- Once on, use a microfiber cloth and gently apply pressure over the surface of the carbon fiber trim to ensure a good bond.
Using the 3D printed center pocket removal tool:
Alternate interiors
If your interior kit cam with pieces of black vinyl, they are to be installed on the wood surfaces that are still visible after installing the carbon fiber trim.
These are for interiors that have wood trim pieces that have curves such as the push-to-open ash tray on later models.
If you have any questions regarding installation, we would be happy to help you directly, just send us an email.